
Painting a Room Without Hiring a Contractor

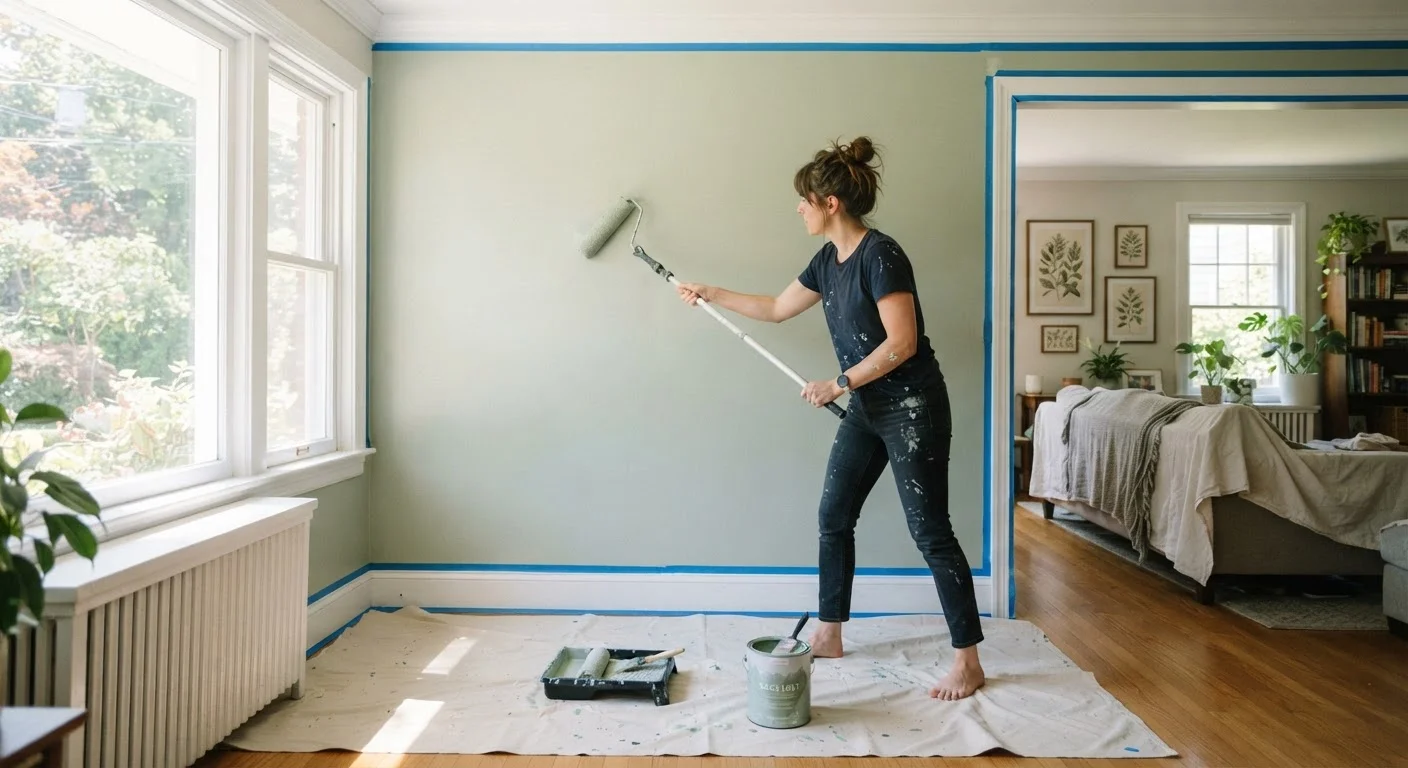
Photo: balancedlivingtools.net editorial
Key Takeaways
- Thorough wall prep, patching and cleaning, determines how long paint holds up.
- Primer is worth the extra step, especially on patched spots or dark existing colors.
- Two thin coats outperform one thick coat for coverage and durability.
- Cutting in along edges before rolling the main field prevents visible lap marks.
- Skipping painter's tape on trim is a common cause of touch-up work after the fact.
What makes DIY painting worth it
Professional painters typically charge for labor by the hour or by square foot of wall space. In most U.S. markets, that labor cost can run several hundred dollars for a single room, separate from paint and materials. Doing the work yourself keeps that expense out of the job entirely. The trade-off is time and attention to detail, both of which are learnable.
The steps below cover a standard interior room: drywall or plaster walls, existing paint in decent condition, and no major structural repairs needed. If your walls have significant water damage, large holes, or peeling caused by moisture, address those underlying issues first. Painting over an unresolved problem does not fix it. For guidance on catching those issues early, see our guide to small repairs that prevent larger expenses.
What you will need
Tools and materials you will need
Gathering everything before you start saves multiple trips and keeps the project moving. The list below covers a standard 12x12-foot room with 8-foot ceilings. Adjust quantities for larger spaces.
Paint roller and covers
Applies paint efficiently to large flat wall surfaces.
Angled paintbrush (2 to 2.5 inch)
Used for cutting in along edges, corners, trim, and ceiling lines.
Roller extension pole
Lets you reach upper wall areas without a ladder for most standard ceiling heights.
Painter's tape
Protects trim, window frames, and outlet covers from paint overlap.
Drop cloths
Covers flooring and furniture to catch drips and spills.
Spackling compound and putty knife
Fills nail holes, small dents, and minor cracks before painting.
Primer
Seals patched areas and improves paint adhesion, especially over repairs or color changes.
Sanding sponge or fine-grit sandpaper (120 to 150 grit)
Smooths patched spots and scuffs glossy areas so paint bonds properly.
Step-by-step: how to paint the room
Follow these steps in order. Rushing prep to get to the paint is the most common reason a DIY paint job looks amateur when it dries.
Clear and protect the room
Remove or cover all furniture with drop cloths or plastic sheeting. Lay drop cloths on the floor along all walls. Take down any wall hangings and switch plates. Tape over outlet and switch boxes with painter's tape. This step takes 20 to 30 minutes but prevents a significant amount of cleanup later.
Patch and repair the walls
Inspect all walls under direct light, ideally a work light held at a low angle. Mark any nail holes, dents, or small cracks with a pencil. Apply spackling compound with a putty knife, pressing firmly into each hole and scraping the surface flush. Allow the compound to dry fully, which usually takes one to two hours depending on room temperature and hole size. Sand each patched spot smooth with a 120 to 150-grit sanding sponge, then wipe the dust off with a damp cloth.
Clean the walls
Grease, dust, and residue from hands or cooking prevent paint from bonding properly. Wipe all walls with a damp cloth or a mild all-purpose cleaner diluted in water. Pay attention to areas around light switches, door frames, and baseboards where contact is frequent. Let the walls dry completely before applying any paint or primer.
Apply painter's tape and prime
Run painter's tape along the top edge where walls meet the ceiling, along all trim and baseboards, and around window and door frames. Press the tape edge down firmly with a putty knife to prevent paint from bleeding underneath. Then apply primer to all patched spots, or to the entire wall if you are making a significant color change. Use a brush for edges and a roller for larger areas. Let primer dry according to the label, typically one to two hours for latex primer.
Cut in the edges
Load an angled brush with paint and cut in a band of color along all edges: ceiling line, corners, trim, and around doors and windows. Work in sections of two to three feet at a time. Cut-in lines do not need to be perfect at this stage because the roller will blend into them, but aim for a consistent band of about two to three inches from the edge.
Roll the main wall surfaces
Load the roller evenly by rolling it through the paint tray several times to distribute paint without oversaturation. Apply paint in a W or M pattern on the wall, then fill in the gaps without lifting the roller. Maintain a wet edge by working in sections and blending back into the previous section before it dries. Apply the first coat to the entire room before starting the second. Allow the first coat to dry completely, usually two hours for latex paint, before rolling the second coat.
Remove tape and touch up
Once the final coat is dry to the touch, remove painter's tape slowly at a 45-degree angle. Inspect all edges and corners under good lighting. Use a small brush to touch up any spots where paint bled under tape or where the coverage looks thin. Allow touch-ups to dry before replacing switch plates, re-hanging wall items, and moving furniture back.
Choosing the right paint for the room
Paint finish affects both appearance and durability. Flat or matte finishes hide surface imperfections well but are harder to wipe clean. Eggshell and satin finishes hold up better in rooms with moderate traffic and humidity, such as kitchens, hallways, and children's rooms. Semi-gloss is standard for trim, doors, and window frames because it resists moisture and can be wiped down repeatedly.
For most walls in living areas and bedrooms, an eggshell or satin finish in a latex (water-based) formula is a practical choice. Latex dries faster than oil-based paint, cleans up with water, and produces less odor. One gallon covers roughly 350 to 400 square feet of wall surface under normal conditions. Calculate your square footage (wall height multiplied by wall width for each wall, minus windows and doors) before buying to avoid waste or shortfalls.
Color saturation matters for how many coats you need. Covering a dark color with a lighter one, or painting over a bold color entirely, almost always requires a tinted primer plus two coats of finish paint. Painting a similar color or a slightly lighter shade may work in two coats without a separate primer step, though priming patched spots is still worth doing.
The content provided on our blog site traverses numerous categories, offering readers valuable and practical information. Readers can use the editorial team’s research and data to gain more insights into their topics of interest. However, they are requested not to treat the articles as conclusive. The website team cannot be held responsible for differences in data or inaccuracies found across other platforms. Please also note that the site might also miss out on various schemes and offers available that the readers may find more beneficial than the ones we cover.